

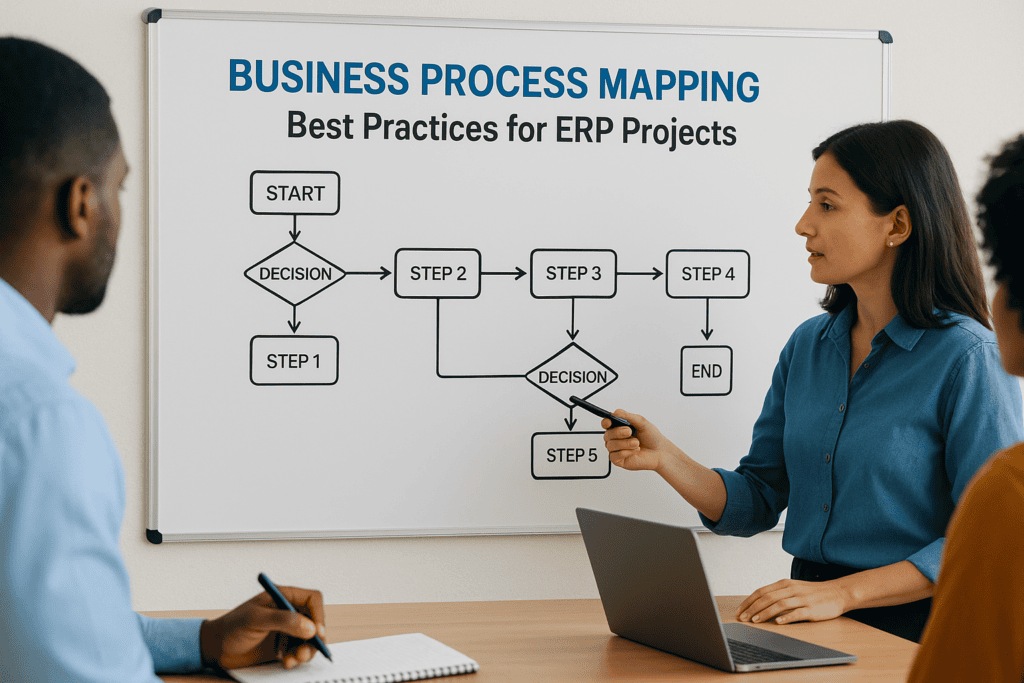
Most ERP implementations don’t fail because of the software. They fail because no one took the time to map out how the business actually works before configuring the system. When workflows are undocumented or poorly understood, even the best ERP platform becomes a glorified spreadsheet. That’s why business process mapping best practices matter, and why they should be treated as a non-negotiable phase of every ERP project.
At Concentrus, we’ve seen this play out hundreds of times across NetSuite and Acumatica implementations. Companies skip or rush process mapping, then spend months (and budget) fixing misaligned configurations after go-live. Our ROI Roadmap™ methodology exists specifically to prevent that outcome, and process mapping is where it starts.
This guide breaks down the practical steps, proven techniques, and common pitfalls of business process mapping for ERP projects. Whether you’re planning a new implementation or rescuing a stalled one, you’ll walk away with a clear framework to document your workflows, identify inefficiencies, and set your ERP up for measurable results. We wrote it for CFOs and finance leaders who need their ERP investment to actually deliver, not just go live.
What process mapping means in ERP projects
Business process mapping is the act of documenting exactly how work flows through your organization, step by step, from trigger to outcome. In an ERP context, this means capturing every touchpoint, decision point, and handoff in your finance, operations, and supply chain workflows before a single configuration decision gets made. Without this foundation, you’re asking your implementation team to build a system around assumptions instead of facts.
Process mapping in ERP projects goes well beyond drawing boxes and arrows. It forces your team to answer specific operational questions: Who initiates a purchase order? What triggers an invoice? Where does an approval sit when a manager is out of office? These details don’t surface in a demo environment or a vendor presentation. They only come out when you sit down with the people who actually do the work and trace every action with evidence.
When you skip process mapping, you don’t just risk a messy go-live. You risk building the wrong system entirely, and fixing it after the fact costs far more than mapping it correctly upfront would have.
The difference between a workflow diagram and a process map
A workflow diagram shows the ideal sequence of steps. A process map shows what actually happens, including the exceptions, workarounds, and manual steps your team has built up over years. That distinction is critical for ERP projects because the system you configure needs to match reality, not a cleaned-up version of it.
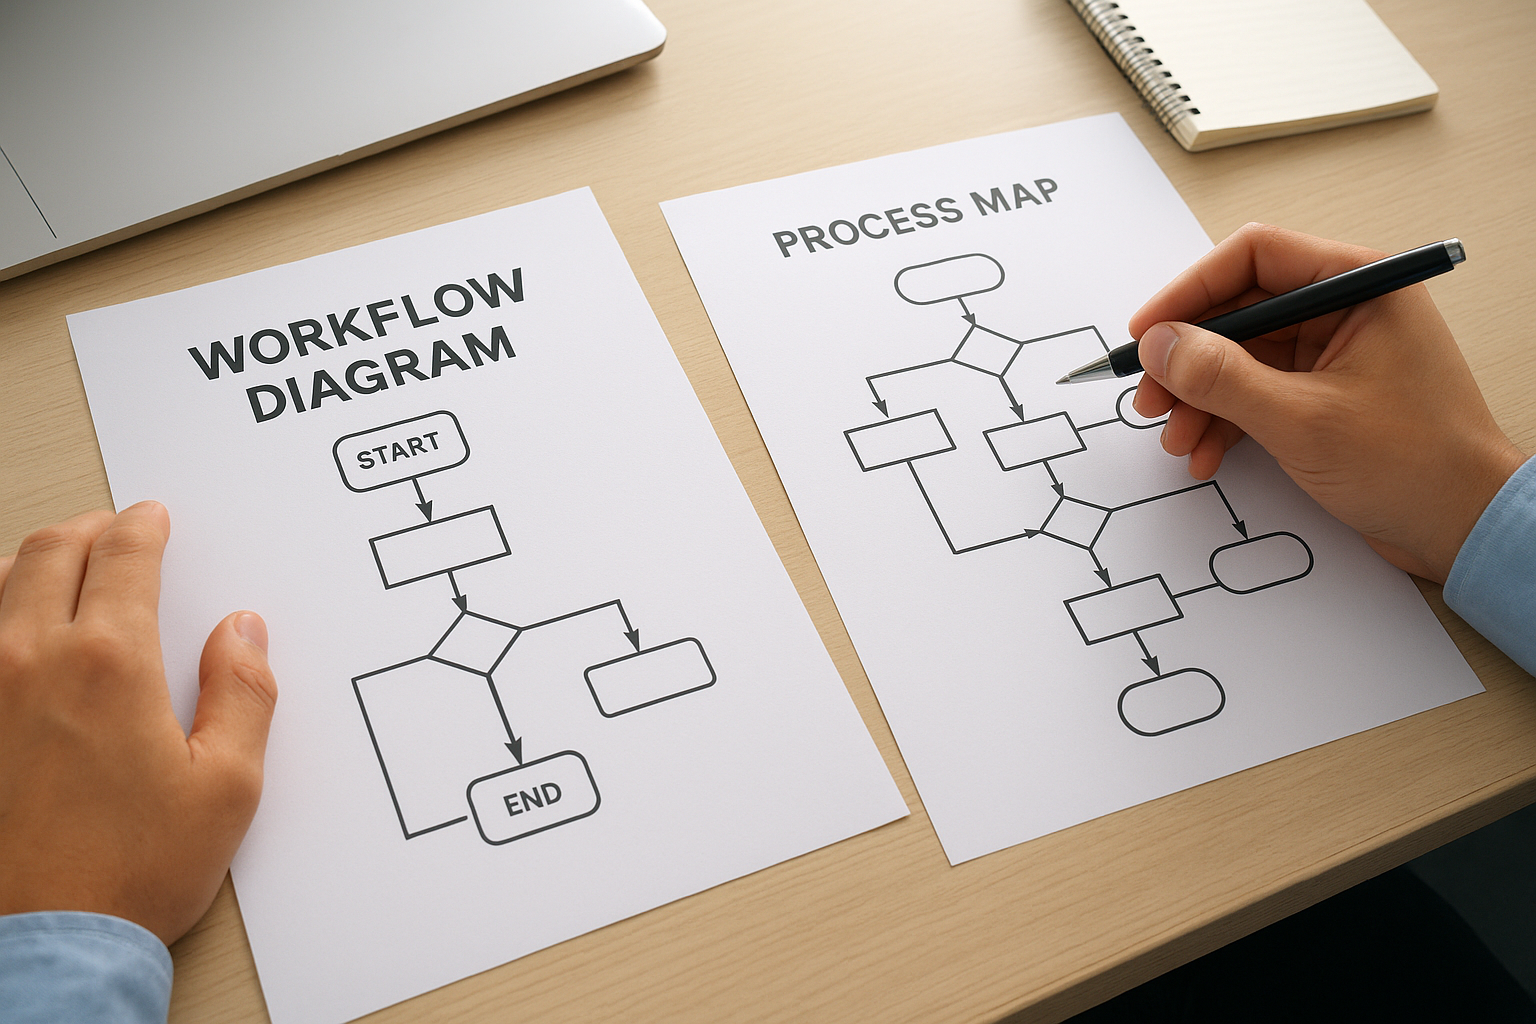
Your accounts payable process might look straightforward on paper: receive invoice, match to PO, approve, pay. In practice, your team may be manually re-entering data from emailed PDFs, chasing approvals through instant messages, and posting corrections after month-end close. A process map captures all of that. A workflow diagram typically doesn’t, which is exactly why process maps carry more weight in an ERP project.
How process mapping connects to ERP configuration
Every configuration choice in NetSuite or Acumatica traces back to a process decision. Your approval workflows, transaction types, custom fields, and automation rules are all shaped by how your business actually operates today. When you map your processes accurately before configuration starts, you give your implementation team a clear blueprint. Without that, they fill the gaps with default settings that may not fit your business at all.
Following business process mapping best practices also protects your ROI. When your process maps clearly show the current state of a workflow, including its inefficiencies and pain points, you can make deliberate choices about what to automate, what to redesign, and what to leave alone. That level of intentionality separates ERP projects that deliver measurable results from ones that simply go live and stall.
Strong process maps also create a shared language between your finance team, your operations team, and your ERP partner. When everyone reviews the same documented workflow, disagreements about system behavior become easier to resolve, scope creep becomes easier to prevent, and post-go-live surprises become far less common. The system gets built against real, verified process data instead of what someone remembered from a whiteboard session six months ago.
Step 1. Choose the process and scope
Before you draw a single line or open a diagramming tool, you need to decide which process to map and exactly how far that process extends. Trying to map everything at once is one of the most common mistakes ERP teams make, and it leads to bloated documentation that no one actually uses. Start with the process that carries the most risk for your ERP project or delivers the most direct impact on your financial outcomes.
Pick the highest-risk or highest-value process first
Not every process deserves equal attention at the start of an ERP project. You want to focus your early mapping efforts on cross-functional workflows that touch multiple departments or have historically caused the most operational pain. In a finance context, that often means order-to-cash, procure-to-pay, or the financial close cycle, because those processes directly affect your revenue recognition, cash flow, and reporting accuracy.
If a process failure costs you money or delays your close every single month, that process belongs at the top of your mapping list.
Ask your team which workflows require the most manual workarounds, generate the most errors, or create the most cross-departmental friction. Those answers point directly to your starting priority. Following strong business process mapping best practices means you treat process selection as a deliberate decision, not an afterthought.
Define clear start and end points
A process without [defined boundaries](https://concentrus.com/items/1242133950) will expand indefinitely. Before mapping begins, you need to document the trigger that starts the process and the outcome that ends it. This scoping decision controls everything that follows, including your team size, your session time, and your configuration decisions later in the project.
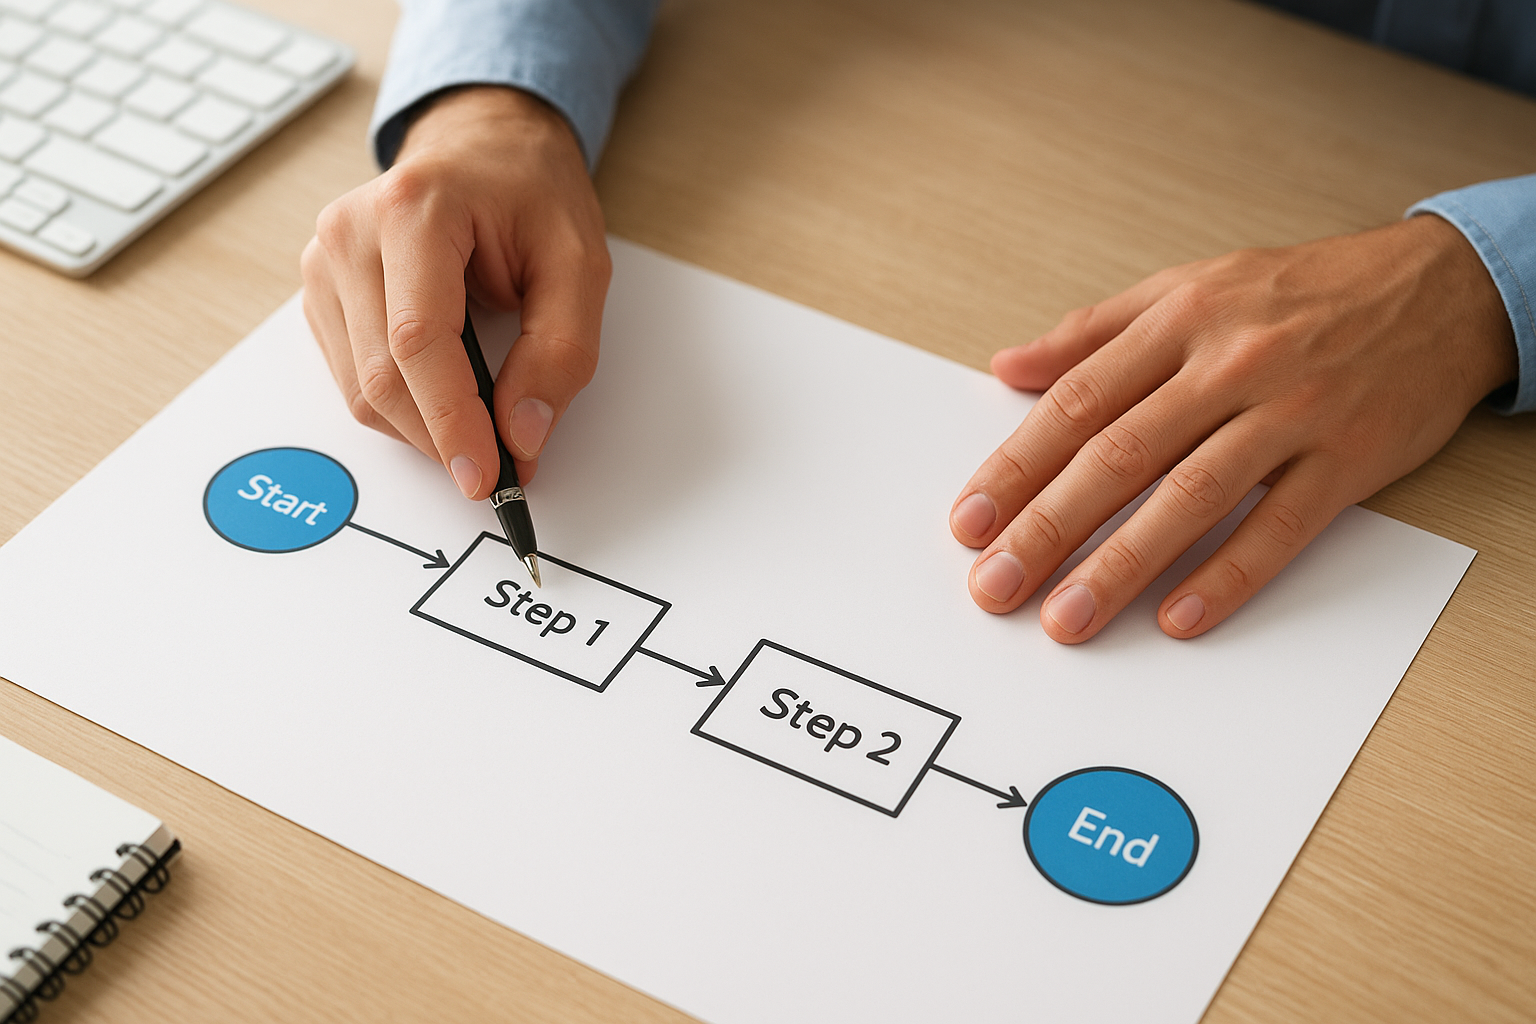
Use this scoping template before every mapping session:
| Scoping Element | Example |
|---|---|
| Process name | Vendor invoice approval |
| Trigger (start) | Invoice received from vendor |
| End state | Invoice posted and payment scheduled |
| Systems involved | NetSuite, email, procurement portal |
| Departments involved | AP team, department managers, finance |
| Known exceptions | Invoices over $10K require CFO sign-off |
Fill this out with your team before the mapping session starts, not during it. When everyone agrees on where a process begins and ends, you eliminate the scope creep that derails sessions and produces maps too broad to act on.
Step 2. Build the right mapping team
The quality of your process map is only as good as the people in the room. You can follow every business process mapping best practice and still produce an inaccurate map if you pull the wrong team together. Before your first session, you need to identify the specific roles that belong in the room, and just as importantly, the ones that don’t.
Include the people who do the actual work
Your process map must reflect what actually happens, not what leadership assumes happens. That means your front-line staff, the people who process invoices, enter purchase orders, or reconcile accounts daily, must be part of your mapping sessions. They know where the workarounds live, which steps take three times longer than expected, and which approval chains break down under pressure.
The person with the most accurate picture of your process is rarely the person with the most authority over it.
Limit your sessions to six to eight participants at most. Larger groups slow the conversation and allow dominant voices to override the operational reality that quieter team members hold. Keep the session focused by assigning one person to document the steps as they surface, separate from the person leading the discussion.
Assign clear roles before the session starts
Walking into a mapping session without defined roles wastes time and creates confusion about who has decision-making authority when disagreements arise. Use this role assignment template before every session:
| Role | Responsibility | Who Fills It |
|---|---|---|
| Process owner | Final authority on how the process should work | Department head or VP |
| Subject matter expert (SME) | Describes what actually happens step by step | Front-line staff |
| Finance lead | Connects process steps to financial outcomes and KPIs | CFO, Controller, or Finance Director |
| ERP consultant | Translates process steps into configuration requirements | Implementation partner |
| Scribe | Documents each step in real time | Project coordinator |
Assign these roles in writing before the session. When your finance lead and process owner are both present and prepared, you can make binding decisions about process design on the spot instead of scheduling follow-up meetings that stretch your timeline. Having your ERP consultant in the room also means configuration implications get flagged immediately as each step surfaces, preventing costly rework later.
Step 3. Capture the as-is process with evidence
Documenting the as-is process is where most teams take shortcuts, and where most process maps lose their value. Your goal in this step is not to describe how the process is supposed to work. Your goal is to capture exactly what happens today, including every manual workaround, every exception, and every step your team has quietly added without updating any documentation. That’s the raw material your ERP configuration needs.
Walk the process before you draw it
Before your team sits down to build a formal diagram, walk the actual process in real time. This means watching a team member complete the workflow from start to finish, in the systems they use today, not in a demo environment. Ask them to narrate each action as they do it. Pay close attention to the moments where they pause, open a second system, send a message to get clarification, or re-enter data they already entered somewhere else.
Those hesitation points are where your biggest inefficiencies live, and they are exactly what business process mapping best practices are designed to surface before ERP configuration begins.
Walking the process in real time gives you evidence-backed documentation instead of memory-based assumptions. Record the session with permission so you can reference specific steps accurately when you build the map.
Document every step with a standard capture format
Once you’ve observed the process, record each step using a consistent format that captures more than just the action itself. You need to know who performs the step, which system they use, how long it takes, and what can go wrong. Use this capture template for every step in the process:
| Step # | Step Description | Performed By | System Used | Avg. Time | Known Failure Points |
|---|---|---|---|---|---|
| 1 | Receive vendor invoice by email | AP Clerk | Gmail | 2 min | Duplicate invoices, missing PO reference |
| 2 | Manually enter invoice into ERP | AP Clerk | NetSuite | 8 min | Keying errors, wrong GL coding |
| 3 | Route for manager approval | AP Clerk | Variable | Delayed response, no audit trail | |
| 4 | Post approved invoice | AP Manager | NetSuite | 3 min | Wrong period posting |
Fill out every column for every step before you move to diagramming. Steps with high average times or multiple failure points tell you exactly where the ERP needs to automate or enforce controls. That data shapes your configuration decisions directly.
Step 4. Use clear notation and ownership
A process map that only you can interpret is not a process map, it’s a personal diagram. For your map to drive ERP configuration decisions, it needs to use consistent visual notation and assign a named owner to every step. Without those two elements, your map creates confusion rather than clarity, and your implementation team will fill the ambiguity gaps with their own assumptions.
Pick a notation standard and stick to it
The notation system you choose matters less than the consistency with which you apply it. Most ERP project teams work well with either a standard flowchart using basic shapes or a more structured BPMN (Business Process Model and Notation) format. BPMN is the notation standard maintained by the Object Management Group and is widely used for formal process documentation because it distinguishes between tasks, gateways, events, and data objects with precision. Whichever format you choose, every person contributing to your process maps needs to use the same symbol set.

Inconsistent notation across your maps forces your ERP consultant to reinterpret diagrams before acting on them, which adds time and introduces errors into your configuration decisions.
Use this reference table to standardize notation across your mapping sessions:
| Symbol | Shape | Meaning |
|---|---|---|
| Task | Rectangle | A single unit of work performed by a person or system |
| Decision gateway | Diamond | A point where the process branches based on a condition |
| Start event | Filled circle | The trigger that initiates the process |
| End event | Thick-border circle | The outcome that closes the process |
| Data object | Rectangle with folded corner | A document or record created or used in the step |
| Swimlane | Horizontal lane | The role or department responsible for that lane’s steps |
Share this table with every team member before your first mapping session. Following business process mapping best practices means your notation choices are intentional and documented, not improvised in the moment.
Assign an owner to every step
Ownership is what separates a process map from a decoration. Every step in your map needs a single named role responsible for completing it, even when multiple people are involved in the broader workflow. When a step has no owner, it becomes the most likely point of failure in your ERP configuration because no one has authority to make a final design decision about it.
Use this ownership assignment template for every step you document:
| Step # | Step Description | Role Owner | Backup Role | Decision Authority |
|---|---|---|---|---|
| 1 | Approve purchase requisition | Procurement Manager | Finance Director | Final approval: Procurement Manager |
| 2 | Generate purchase order in ERP | AP Clerk | Senior AP Clerk | Execution only, no discretion |
| 3 | Match PO to vendor invoice | AP Clerk | AP Manager | Escalate mismatches to AP Manager |
Filling out the Decision Authority column is the step most teams skip. That column tells your ERP consultant exactly where to build approval controls in the system and which role needs a specific permission level in NetSuite or Acumatica.
Step 5. Validate, measure, and find gaps
You now have a documented as-is process with clear ownership and consistent notation. Before you move on to designing a better state, you need to verify that map is accurate and measure where it breaks down. Skipping validation is how errors get baked into your ERP configuration, because a map built on incorrect assumptions produces a system that doesn’t match how your business actually runs.
Validate the map with the people who live in it
Take your draft process map back to the subject matter experts and front-line staff who provided the original information. Walk through each step out loud and ask them to stop you the moment something looks wrong or incomplete. This review catches the steps that got misrepresented in the initial session, the exceptions that only surface under specific conditions, and the undocumented manual interventions your team performs without thinking about them.
One 30-minute validation session with your front-line team will surface more errors in your process map than a full day of internal review by your project team alone.
Run this validation in a structured format. Share the map visually on a shared screen, review each swimlane by role, and document every correction in real time. Confirm the start trigger, end state, and decision points are accurate before you move to measurement.
Measure what each step actually costs
Validation confirms the map is accurate. Measurement tells you which steps are worth fixing. For each step in your process, record the time it takes, how often it fails, and what that failure costs your team. This data becomes the justification for every automation and redesign decision you make in the next phase.
Following business process mapping best practices means you don’t guess at inefficiency. You quantify it. Use this gap measurement template for each step:
| Step # | Step Description | Avg. Time | Error Rate | Rework Time | Monthly Cost Impact |
|---|---|---|---|---|---|
| 1 | Manual invoice entry | 8 min | 12% | 15 min | High |
| 2 | Email-based approval routing | Variable | 25% | 30 min | High |
| 3 | Manual GL coding review | 5 min | 8% | 10 min | Medium |
| 4 | Period-end correction posting | 20 min | 5% | 45 min | Medium |
Fill in every row completely before your design session. Steps with high error rates and significant rework time are your highest-priority targets for automation or process redesign in the next step.
Step 6. Design the to-be process and ROI KPIs
Your gap measurement data from Step 5 tells you exactly where your current process breaks down and what it costs. Now you use that data to design a future-state process that eliminates those failure points and connects every change to a measurable financial outcome. This is where business process mapping best practices translate directly into ERP configuration decisions and ROI accountability.
Build the to-be process from your gap data
Your to-be process map is not a wish list. It is a deliberate redesign built from the specific steps you flagged as high-cost or high-error in your measurement phase. For each step you identified as a priority target, decide whether you will automate it, redesign it, eliminate it, or leave it unchanged. Document that decision explicitly so your ERP consultant can act on it without guessing your intent.
Every to-be process decision should trace back to a specific gap you measured. If you cannot point to the data that justifies a change, the change belongs out of scope.
Use this to-be process design template for each step you plan to change:
| Step # | Current State | Proposed Change | Method | ERP Feature Required |
|---|---|---|---|---|
| 1 | Manual invoice entry via email | Auto-import invoices from vendor portal | Automate | NetSuite AP automation or Celigo integration |
| 2 | Email-based approval routing | Structured approval workflow with escalation rules | Redesign | NetSuite approval routing |
| 3 | Manual GL coding review | Auto-suggest GL codes based on vendor history | Automate | NetSuite smart coding rules |
| 4 | Period-end correction posting | Real-time validation rules that block incorrect period entries | Eliminate error source | Acumatica posting period controls |
Complete this table for every step you plan to change before your ERP consultant begins configuration. It removes ambiguity and prevents the scope drift that derails timelines.
Define ROI KPIs for every process change
Each change you make to your process needs a measurable target attached to it. Without KPIs, you have no way to verify whether your ERP investment is delivering results. Assign a baseline metric, a target metric, and a measurement method to every significant process change.
Use this KPI template to document your targets:
| Process Change | Baseline Metric | Target Metric | Measurement Method | Review Frequency |
|---|---|---|---|---|
| Automate invoice entry | 8 min per invoice, 12% error rate | Under 1 min, under 2% error rate | ERP transaction log | Monthly |
| Structured approval routing | 25% delay rate, no audit trail | Under 5% delay rate, full audit trail | Approval workflow report | Monthly |
| Auto GL coding | 8 min manual review per invoice | Under 1 min review | Exception report | Monthly |
Assign a specific team member to review these KPIs on the cadence you define. KPIs without a named reviewer do not get reviewed, and your ERP investment loses its financial accountability.
Put the map to work
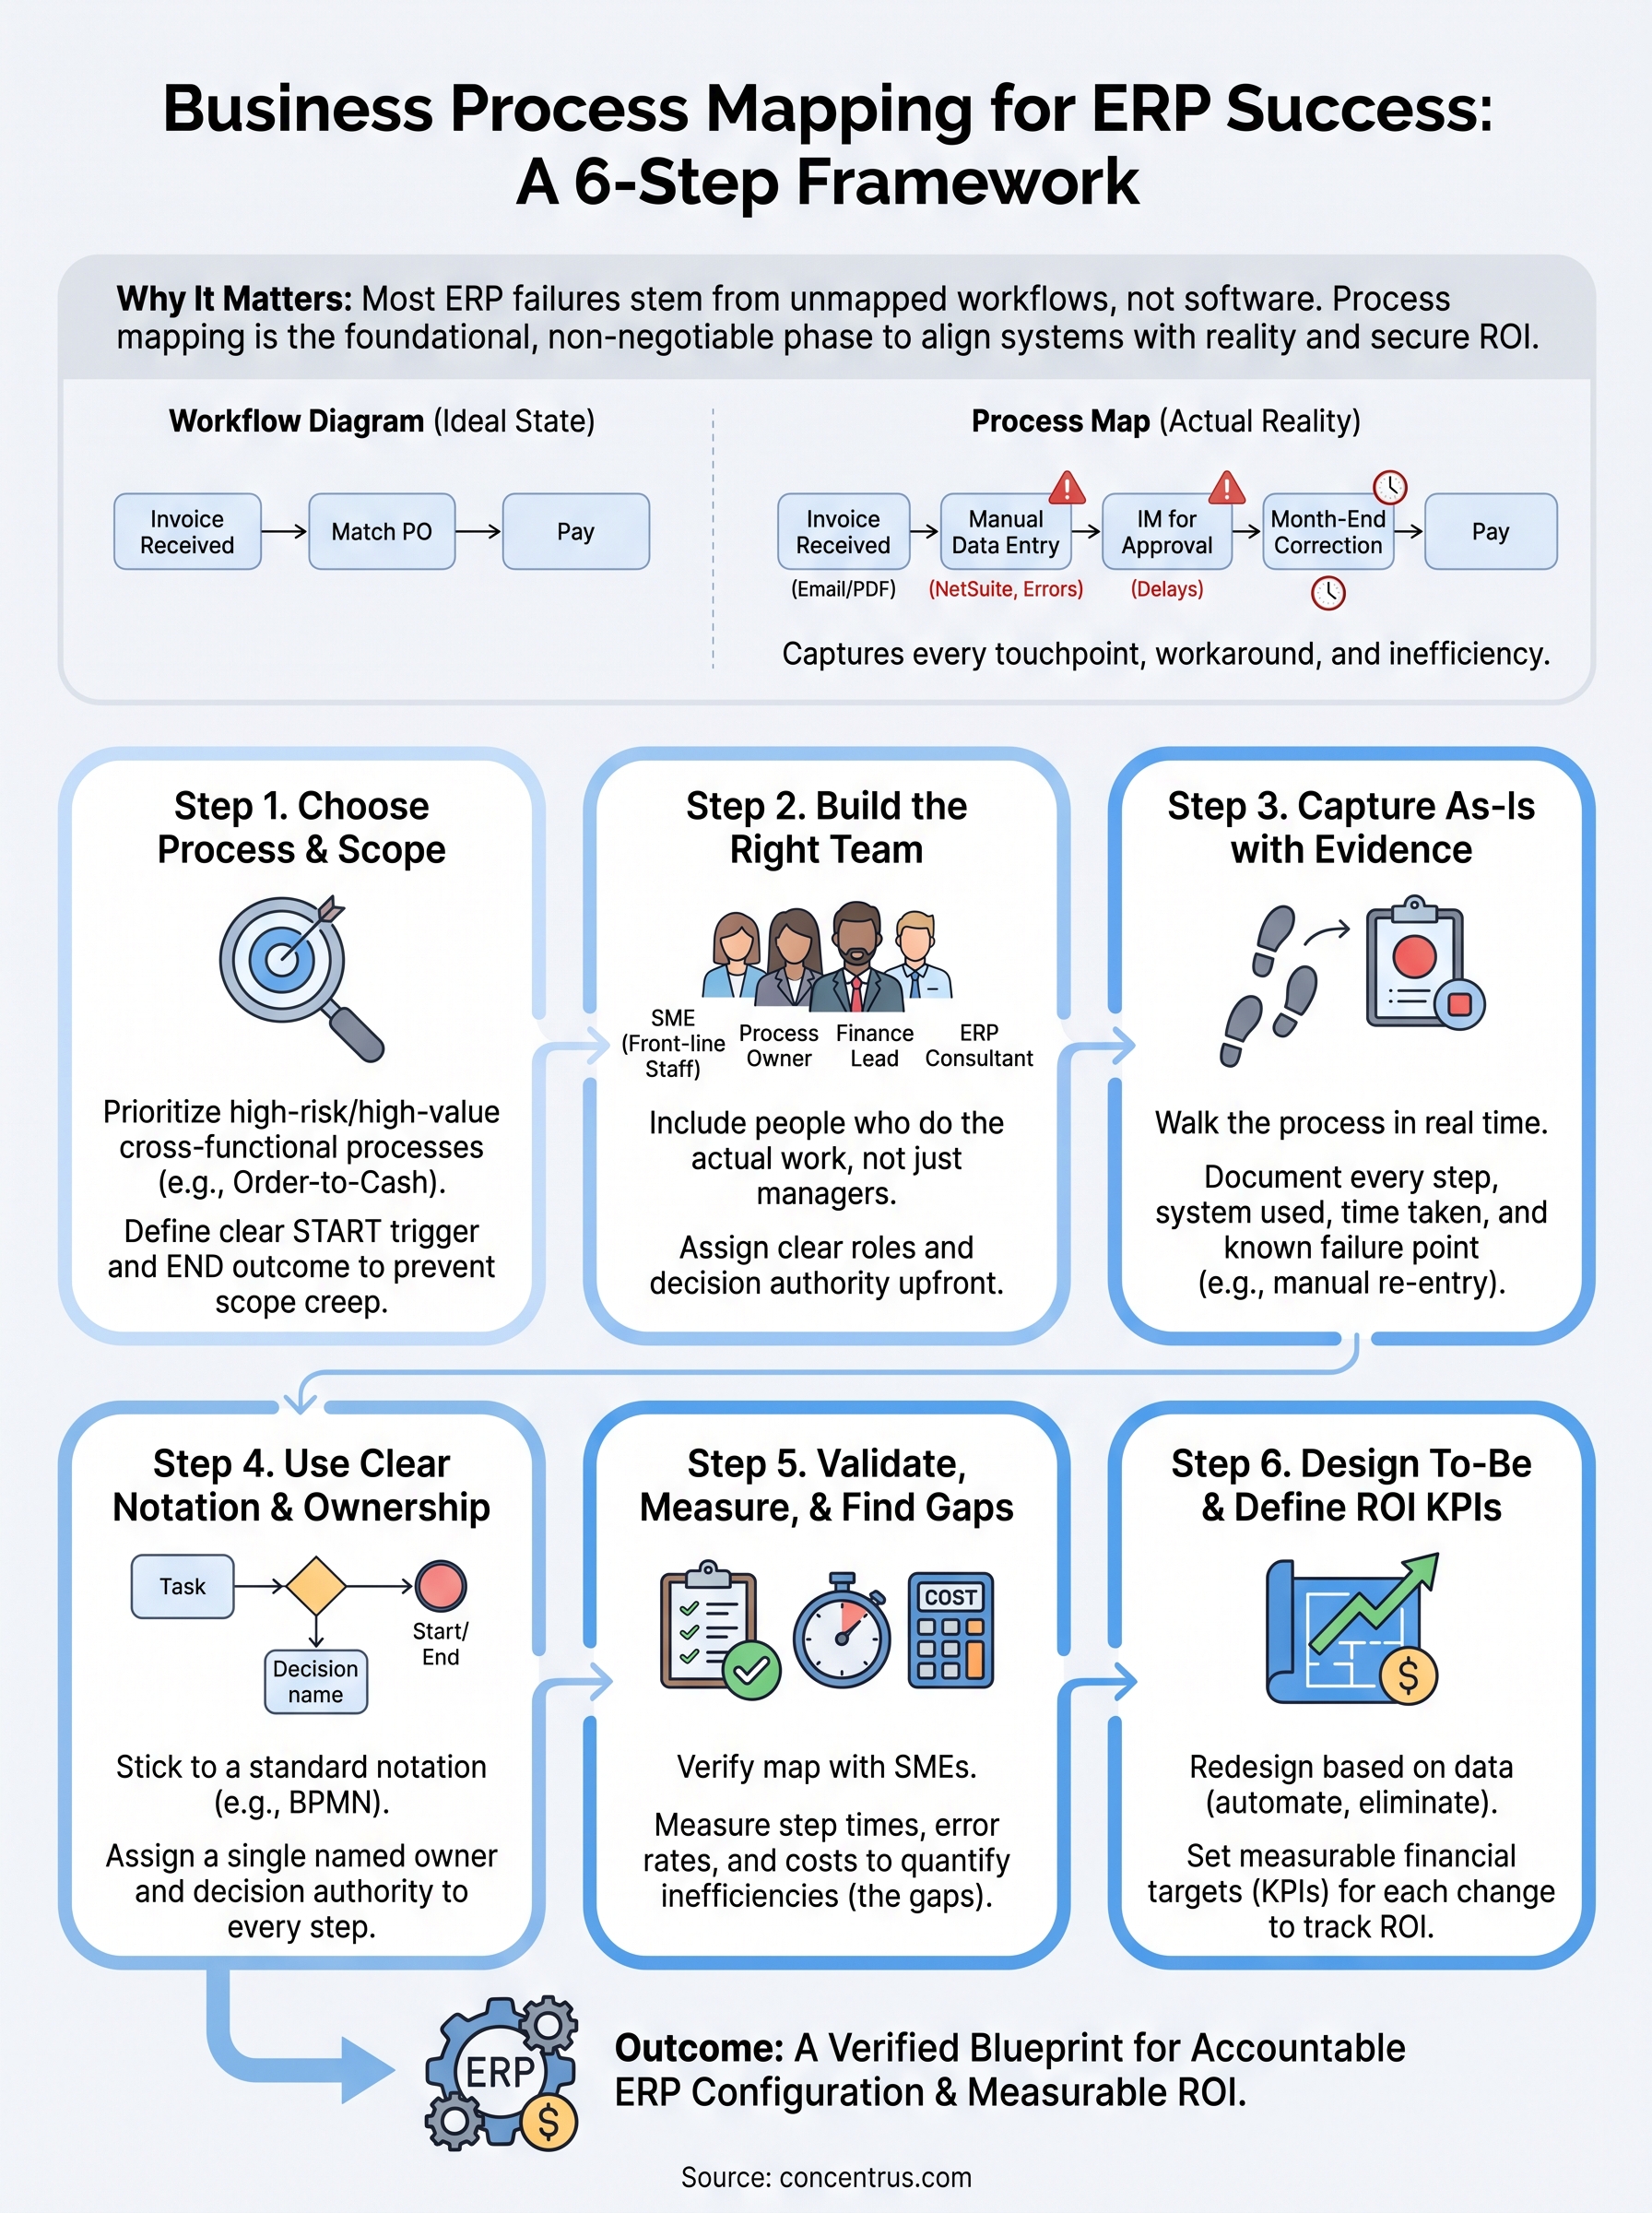
Following business process mapping best practices through each of these six steps gives you more than a set of diagrams. It gives you a verified blueprint your ERP team can configure against, a gap analysis grounded in real data, and a set of KPIs that hold your investment accountable from day one. The map is not the finish line. It is the foundation every downstream configuration decision depends on.
Your process maps only deliver value if your team acts on them. Share the validated as-is maps with your ERP consultant before any configuration session begins. Bring your to-be designs and ROI KPI targets into every sprint review so progress stays tied to financial outcomes. Review your KPIs monthly after go-live and update your maps when your workflows change. If you want a partner who builds every ERP project around this kind of accountability, talk to the Concentrus team about how the ROI Roadmap™ works in practice.