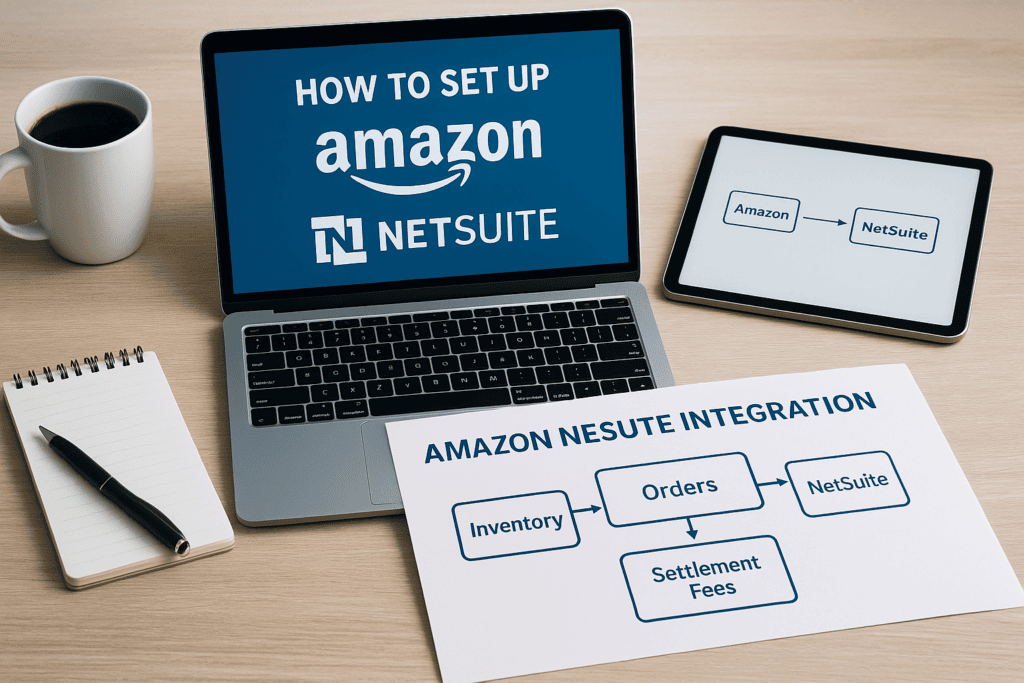
If you’re selling on Amazon and running finance through NetSuite, you already know the pain of manually reconciling orders, inventory counts, and settlement fees every week. A properly configured amazon-netsuite integration closes that gap by pushing orders, inventory levels, and payment data between the two systems automatically, so your finance team stops chasing spreadsheets and starts trusting the numbers.
This guide walks you through exactly how to set up netsuite amazon integration, from choosing between NetSuite’s native connector, SuiteApp options, and third-party middleware like Celigo, to mapping your order workflows and configuring tax and fee handling so your books stay accurate at close. You’ll see what decisions matter most before you touch a single setting, and where midsized sellers commonly get tripped up.
We’ve helped finance leaders untangle failed Amazon-NetSuite projects and rebuild them around real ROI, faster closes, cleaner inventory data, fewer manual journal entries. So this isn’t theory. It’s a practical sequence you can follow to get inventory management and order sync working correctly the first time, whether you’re starting fresh or fixing a broken connection.
Before you integrate: prerequisites and options
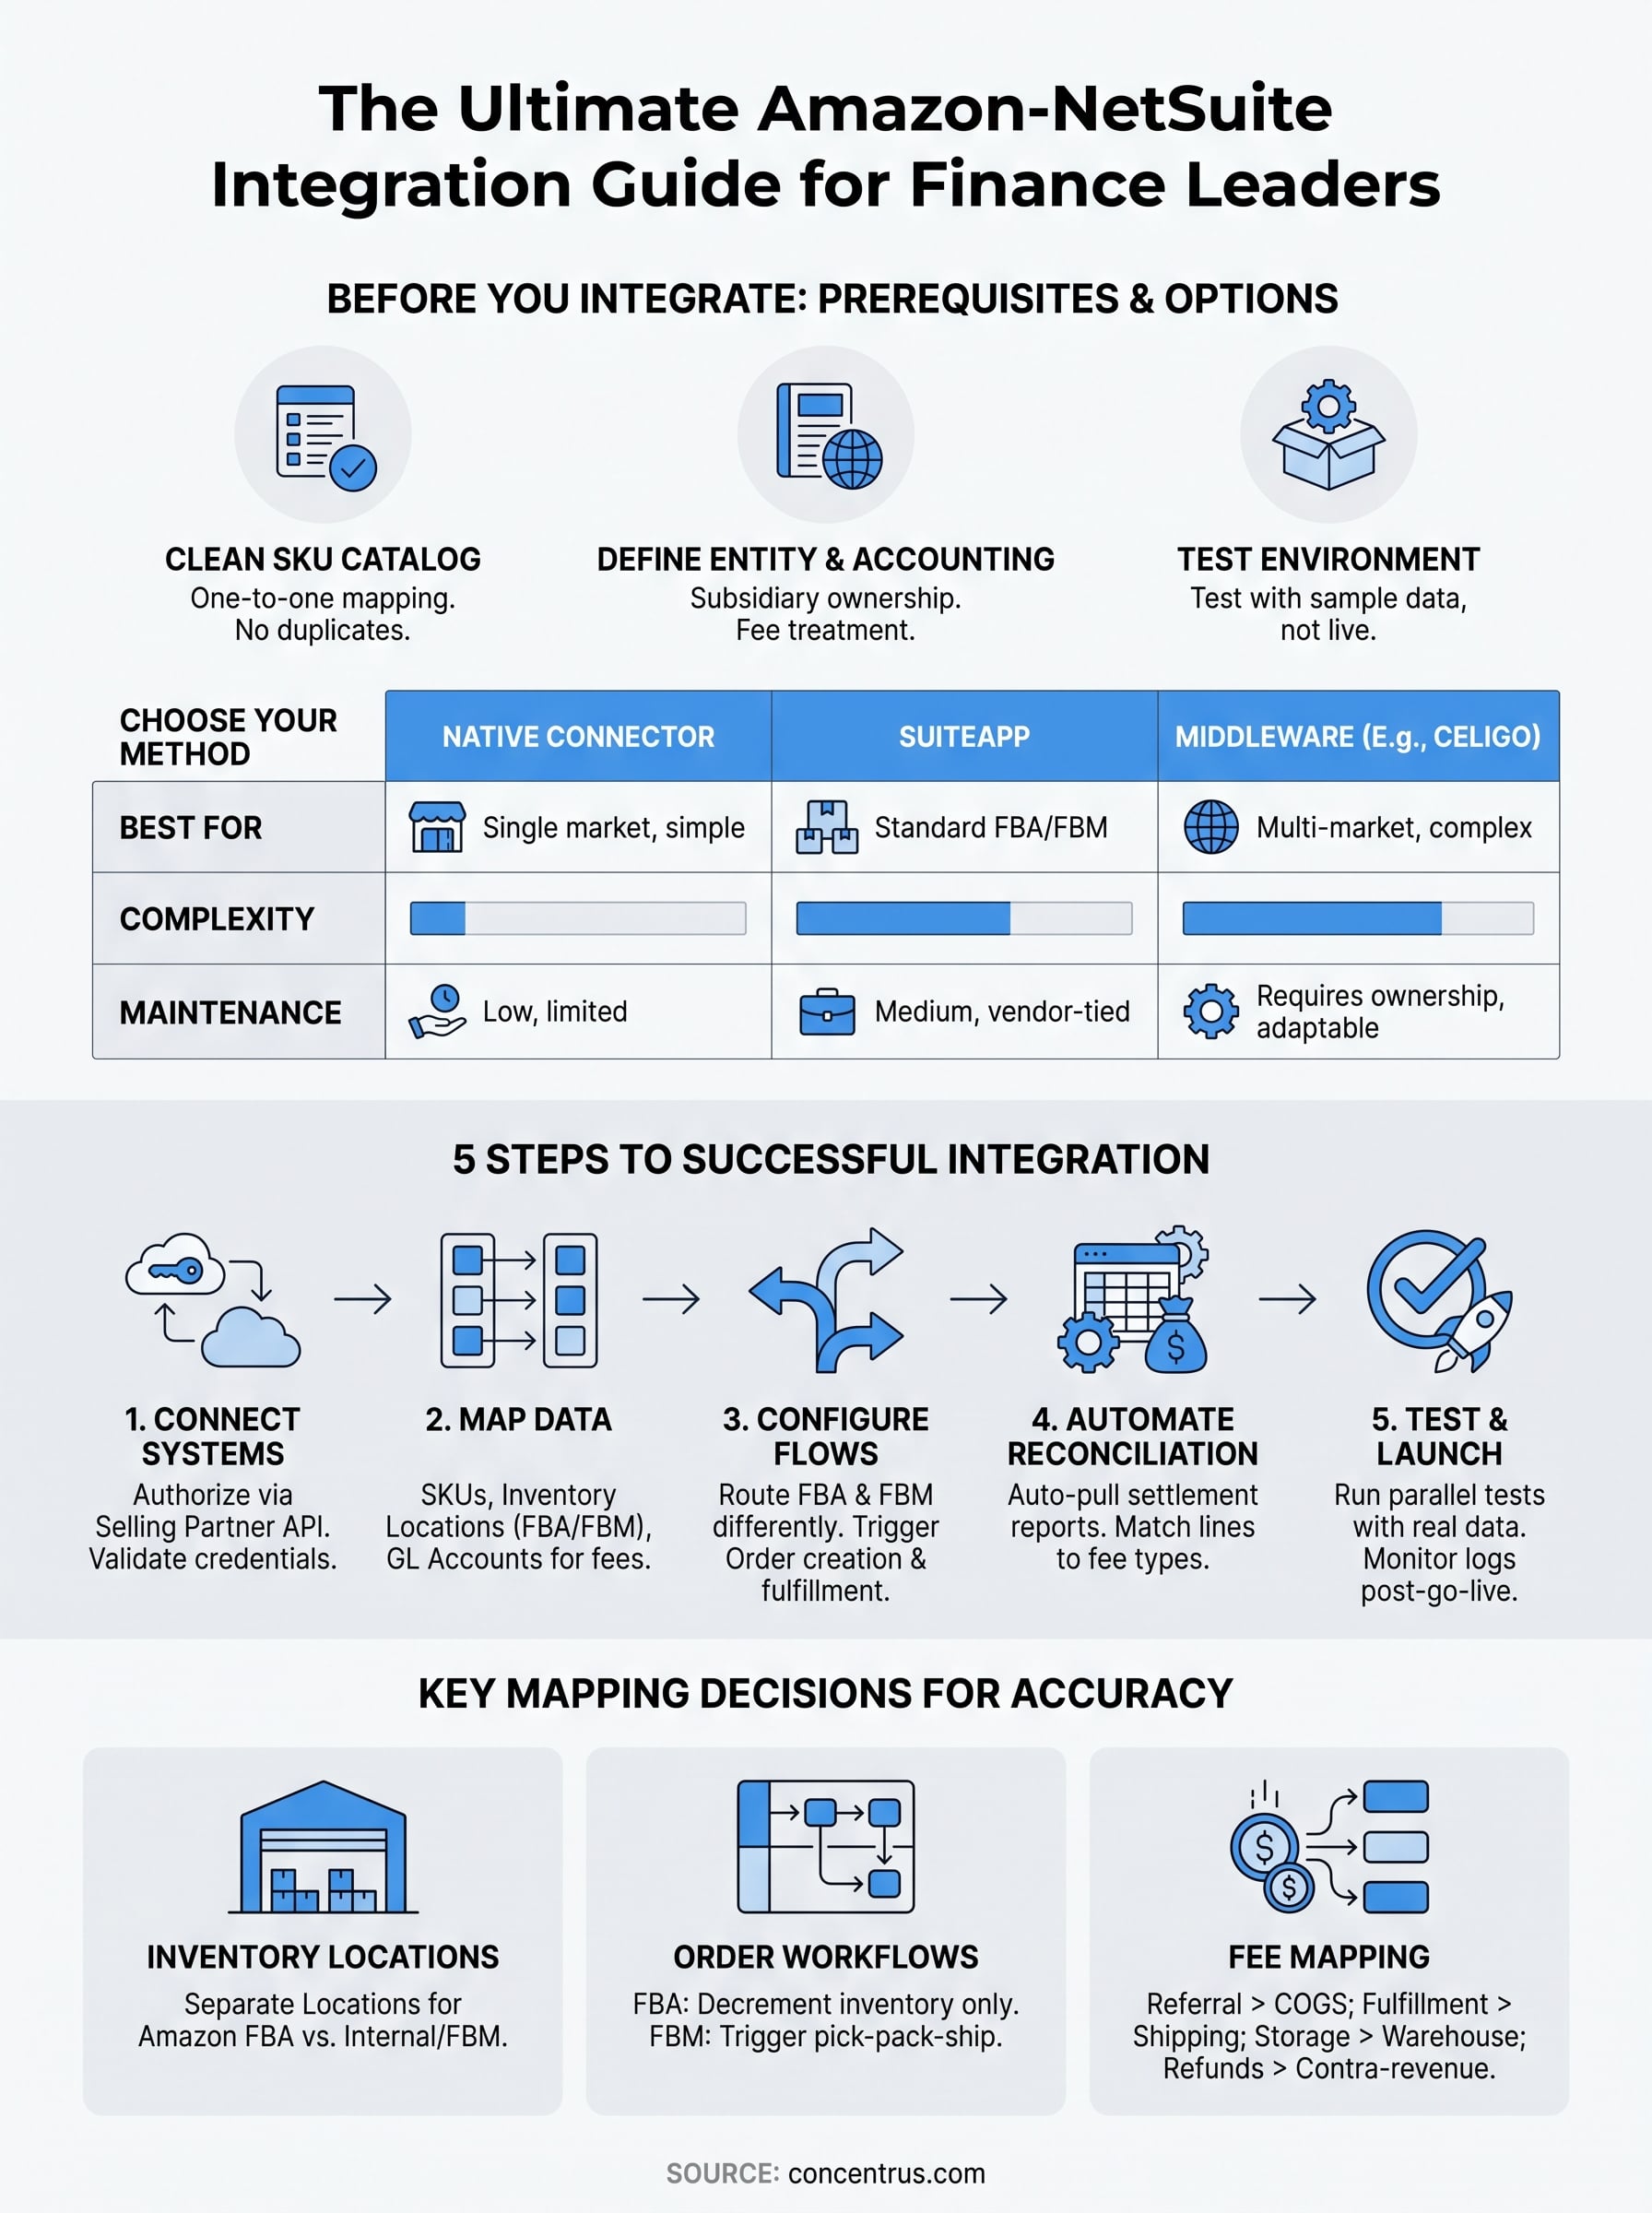
Before you open a single settings menu, get your data and your team ready. Most failed amazon-netsuite integration projects don’t fail because of the technology, they fail because nobody cleaned up the SKU catalog or agreed on which entity owns Amazon transactions in the chart of accounts. Fixing that after go-live means redoing mapping work you already paid for.
Get your prerequisites in order
Work through this checklist with your NetSuite admin and whoever owns your Amazon Seller Central account before you start configuration:
- Seller Central admin access with permissions to generate API credentials (you’ll need this for the MWS or Selling Partner API connection)
- A clean SKU catalog where every Amazon listing maps to one, and only one, NetSuite item record
- Defined fulfillment channels (FBA, FBM, or both) since each one triggers different inventory and shipping logic
- A decision on which NetSuite subsidiary or location Amazon sales post to, especially if you sell internationally
- Sign-off from finance on how settlement fees (referral fees, FBA fees, storage fees) should hit the general ledger
- A test Amazon account or sandbox environment, if your integration partner supports one, so you’re not testing against live orders
Skipping the SKU cleanup step is the single most common mistake we see. If your Amazon catalog has duplicate listings, bundled SKUs, or items that were renamed years ago without updating NetSuite, the integration will faithfully sync bad data at machine speed.
Choose your integration method
You have three realistic paths for connecting NetSuite and Amazon, and the right one depends on your order volume, how many marketplaces you sell on, and how much custom logic your finance team needs.

| Option | Best for | Setup complexity | Ongoing maintenance |
|---|---|---|---|
| NetSuite native connector | Single-marketplace sellers with simple order flows | Low | Low, but limited flexibility |
| Amazon-specific SuiteApp | Sellers who need pre-built mapping for FBA/FBM and standard fee handling | Medium | Medium, tied to vendor update cycles |
| Third-party middleware (e.g., Celigo) | Multi-marketplace sellers, complex tax rules, or high order volume | Medium to high | Requires dedicated ownership, but most adaptable |
The native connector works fine if you sell on one marketplace with straightforward fulfillment and don’t need custom fee mapping. It gets you basic order and inventory sync without a middleware subscription. Once you add multiple marketplaces, international VAT, or bundled kits, though, you’ll outgrow it fast.
Middleware platforms like Celigo, part of the Concentrus Partner Network™ of vetted integration tools, give you the flexibility to build custom workflows: routing FBA and FBM orders differently, splitting settlement batches by marketplace, or triggering journal entries based on fee type. That flexibility costs more in setup time and ongoing platform fees.
Choose the integration method your order volume actually justifies, not the one with the most features.
Neither option is universally “better.” A company doing 200 Amazon orders a month doesn’t need the same architecture as one doing 20,000. Match the tool to your volume and complexity, and revisit the decision as you scale rather than over-building on day one.
Step 1. Connect NetSuite to Amazon Seller Central
With your prerequisites settled, the actual connection step is mostly administrative, not technical. You’re authorizing two systems to talk to each other through Amazon’s Selling Partner API (SP-API), which replaced the older MWS protocol. Get this authorization wrong and every downstream mapping decision inherits the error, so slow down here even if it feels like the easy part.
Generate your Amazon Selling Partner API credentials
Start in Amazon Seller Central, not NetSuite. Amazon requires developer registration before it issues the credentials your integration tool needs.
- Log into Seller Central with an account that has admin-level permissions.
- Navigate to Settings > User Permissions and confirm the account you’re using has API access enabled.
- Register as a developer under Apps & Services > Manage Your Apps, or authorize your chosen SuiteApp or middleware directly if it’s listed in Amazon’s app marketplace.
- Generate your Client ID, Client Secret, and Refresh Token, and store them somewhere your NetSuite admin can access securely, ideally a password manager rather than a shared spreadsheet.
- Note your marketplace ID for every region you sell in. US, Canada, and EU marketplaces each carry a distinct ID, and missing one means orders from that region simply won’t sync.
Authorize the connection inside NetSuite
Once Amazon issues credentials, switch to NetSuite to complete the handshake. If you’re using the native connector or an Amazon-specific SuiteApp, install it from the SuiteApp marketplace first, then locate its setup record, usually under Setup > Integration Management or a dedicated bundle configuration page. Paste in your SP-API credentials, select the marketplace or marketplaces you’re connecting, and run the initial connection test the tool provides. If you’re using middleware like Celigo instead, this step happens inside the middleware’s connector dashboard, which then relays authenticated calls to both Amazon and NetSuite on your behalf.
A successful amazon-netsuite integration connection test moves zero real orders. It just proves both systems can hear each other.
Run that connection test before you map a single field. If it fails, the problem is almost always an expired refresh token, a mismatched marketplace ID, or a permissions gap in Seller Central, not a NetSuite configuration issue. Confirming the handshake works cleanly now saves you a frustrating debugging session later, once real order and inventory data is flowing and errors get harder to isolate from actual business logic problems.
Step 2. Map SKUs, inventory locations, and fees
Once the connection test passes, the real configuration work starts here, mapping every piece of Amazon data to the correct NetSuite record. Get this step wrong and you’ll spend months explaining inventory discrepancies to your operations team instead of trusting the numbers your amazon-netsuite integration produces. This is also where the SKU cleanup you did in the prerequisites phase pays off, because clean data maps in a fraction of the time.
Match SKUs to NetSuite item records
Begin with a one-to-one mapping between every active Amazon SKU and its corresponding NetSuite item. Bundled or kitted products need special attention, since Amazon often treats a kit as a single SKU while NetSuite needs to decrement inventory for each component.
- Export your full Amazon SKU list from Seller Central and cross-reference it against NetSuite item records
- Flag any SKU with no NetSuite match and create the item record before syncing, not after
- Document kit and bundle logic separately so your integration tool knows to explode them into components
- Retire duplicate or discontinued SKUs on both sides before go-live
A single unmapped SKU can stall an entire order batch, so treat SKU mapping as a blocking task, not a background one.
Assign inventory locations by fulfillment channel
Next, decide how FBA and FBM inventory map to NetSuite locations. Most companies set up a distinct NetSuite location for Amazon-fulfilled stock, separate from warehouse-fulfilled stock, so finance can see channel-level inventory value without building custom reports. If you sell through multiple Amazon marketplaces, replicate this location structure per region rather than lumping everything into one bucket.
Route settlement fees to the right GL accounts
Finally, map each Amazon fee type to a specific general ledger account. Amazon settlement reports list referral fees, FBA fulfillment fees, storage fees, and refund adjustments separately, and your integration should mirror that granularity rather than dumping everything into one expense line.
| Amazon fee type | Suggested GL treatment |
|---|---|
| Referral fee | Selling expense, cost of sale |
| FBA fulfillment fee | Shipping/fulfillment expense |
| Storage fee | Warehousing expense |
| Refund/chargeback | Contra-revenue adjustment |
Running this mapping past your controller before go-live avoids a messy reclassification project once real settlement data starts flowing through the netsuite amazon integration.
Step 3. Configure order and fulfillment flows
With SKUs, locations, and fees mapped, you’re ready to decide how orders actually move through the system. This step determines how fast your warehouse ships, how accurate your inventory counts stay, and whether Amazon buyers get tracking updates on time. Get the order flow logic wrong here and you’ll see it immediately, as shipping delays, oversell situations, or a flood of buyer complaints about missing tracking numbers.
Decide when Amazon orders become NetSuite sales orders
Most integrations let you choose the trigger point for creating a NetSuite sales order: the moment Amazon confirms the order, or only after payment settles. Pick payment-confirmed triggers if you’ve been burned by canceled or fraudulent orders creating phantom sales order records in NetSuite. Confirm this setting with whoever reconciles daily order counts, since it changes what they see in NetSuite versus what shows in Seller Central on any given day.
Route FBA and FBM orders differently
FBA and FBM orders need separate handling because Amazon, not your warehouse, fulfills FBA orders. Build your order workflows around that distinction from day one:
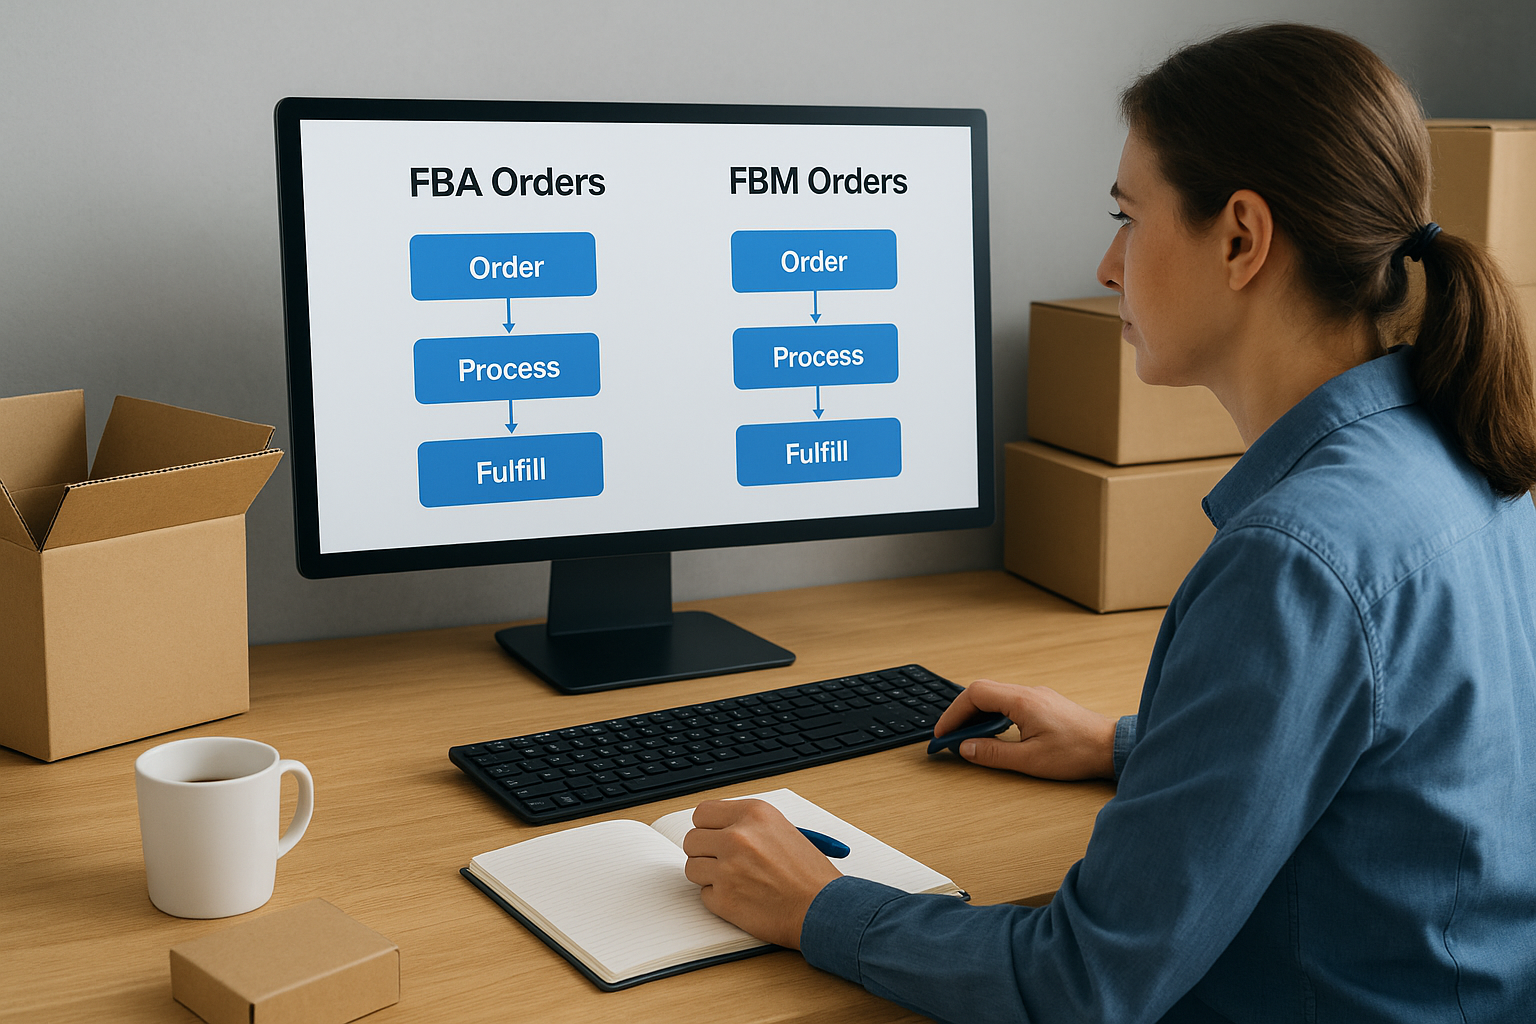
- FBA orders should sync into NetSuite as sales orders that decrement inventory but skip your internal pick-pack-ship process entirely
- FBM orders should flow into your normal fulfillment queue, triggering pick tickets and shipping labels the same way a website order would
- Multi-channel fulfillment orders, where Amazon ships product for a non-Amazon sale, need their own routing rule so they don’t get miscounted as standard FBA activity
Treat FBA and FBM as two separate order pipelines inside NetSuite, never one blended workflow.
Skipping this separation is a common cause of duplicate shipping charges and inventory counts that never match Seller Central.
Sync fulfillment and tracking data back to Amazon
Amazon requires timely tracking updates to protect your seller metrics, so configure your integration to push tracking numbers and ship confirmations back automatically once NetSuite marks an FBM order fulfilled. Delays here hurt your account health score, not just customer experience. Test this two-way sync specifically, since many teams verify orders flowing into NetSuite but forget to confirm fulfillment data flows back out on schedule.
Step 4. Automate settlement reconciliation
Amazon doesn’t pay you order by order. It bundles two weeks of sales, fees, refunds, and adjustments into a single settlement deposit, then hands you a report with hundreds of line items that need to match dozens of GL accounts. Reconciling that manually is where most finance teams lose days every month, and it’s exactly the problem your amazon-netsuite integration should eliminate once settlement automation is configured correctly.
Pull settlement reports automatically
Configure your integration tool, whether that’s a SuiteApp or middleware like Celigo, to pull Amazon settlement reports on a fixed schedule rather than waiting for someone to remember to download them. Most tools support daily or per-settlement-cycle polling through the Selling Partner API. Set the pull frequency to match your settlement cycle, typically every 14 days, so reports land in NetSuite before your close deadline instead of after it.

Match settlement lines to the fee mapping you built in Step 2
Once a report lands, the integration should automatically split it into the fee categories you already mapped: referral fees, FBA fulfillment fees, storage charges, refunds, and reserve holds. Each line needs to hit the GL account you assigned earlier, not a generic clearing account that someone reclassifies by hand every month.
- Confirm the deposit total in NetSuite ties exactly to the deposit that hits your bank account
- Flag any settlement line that doesn’t match a known fee type for manual review, rather than letting it post silently
- Route refunds and chargebacks as contra-revenue, not as new expense lines, so your margin reporting stays accurate
- Reconcile reserve holds separately, since Amazon can withhold funds for weeks before releasing them
If your team still opens a spreadsheet to reconcile Amazon settlements, the integration isn’t finished yet.
Build a variance check into your close process
Even a well-configured integration will occasionally hit a settlement line it can’t categorize automatically, usually a new fee type Amazon introduces without warning. Set up a variance report in NetSuite that flags any unmatched or unusually large line item before your close, rather than discovering it during month-end review. This single check is what separates a netsuite amazon integration that genuinely speeds up close from one that just moved the manual work from Amazon’s dashboard into NetSuite. Review flagged items weekly instead of monthly, so surprises get caught while they’re still small enough to fix in minutes, not hours.
Step 5. Test, launch, and monitor the integration
Before you flip the switch on live orders, run the entire integration through a controlled test cycle. This is where you catch mapping errors, broken triggers, and fee misclassifications while the cost of a mistake is a few test transactions, not a quarter’s worth of dirty books. Rushing this step is how a technically correct amazon-netsuite integration still produces bad numbers in its first month live.
Run a parallel test cycle before go-live
Process a small batch of real order types through the connection, ideally using a sandbox marketplace if your integration partner offers one, or a low-volume live period if it doesn’t:
- Place or capture at least one order from each fulfillment channel (FBA, FBM, and multi-channel fulfillment if you use it)
- Confirm inventory decrements correctly in the right NetSuite location for each order
- Pull a sample settlement report and verify every fee line hits the GL account you mapped in Step 2
- Check that tracking data flows back to Amazon within the timeframe your account health metrics require
- Have your controller review the resulting journal entries line by line, not just the totals
Don’t launch on a green connection test alone. Launch on a green test cycle that ran real order types through every fee category.
Cut over without breaking order flow
Once testing checks out, pick a cutover date with low order volume, typically a weekend or slow season week, and run both systems in parallel for a few days if your order volume allows it. Watching NetSuite and Seller Central side by side for a short window catches sync gaps before they compound into a reconciliation headache.
Set up ongoing monitoring, not just a launch checklist
After go-live, monitoring is what keeps a working netsuite amazon integration working. Build alerts for failed API calls, unmapped SKUs, and settlement lines that don’t match a known fee type, and route those alerts to a real person, not an inbox nobody checks. Schedule a monthly review of the connection’s error logs even when nothing seems wrong, since Amazon periodically changes its Selling Partner API and updates its fee structures without much warning. Treat the integration as a system that needs light maintenance, not a project you finish and forget, and it will keep paying back the setup time you put into it.
Next steps for your finance team
A working amazon-netsuite integration isn’t a one-time project, it’s infrastructure your finance team depends on every close. Get the prerequisites right, map SKUs and fees deliberately, and build monitoring into your routine, and you’ll spend your time analyzing margins instead of chasing settlement discrepancies. Skip any of those steps and you’re just moving the manual work somewhere less visible.
If you’re weighing native connectors against middleware, or you inherited a broken netsuite amazon integration that never delivered the ROI it promised, don’t guess your way through another mapping cycle. Most of the failed projects we see share the same root cause: nobody tied the technical setup back to measurable financial outcomes before building it.
Concentrus builds every ERP project, new or rescue, around that accountability from day one. If you want a second set of expert eyes on your Amazon-NetSuite setup, talk to Concentrus about your ERP project and get a roadmap tied to real numbers, not just a technical checklist.